Cycling looks simple from the outside: a bike, a road, and the rider.
But anyone who rides regularly knows that performance, comfort, and safety are shaped by details—especially the ones you interact with constantly.
Hydration is one of those details.
Most riders don’t think much about their water bottle or bottle cage until something goes wrong:
the bottle slips out on a rough road, it’s hard to grab while moving, the water is too warm, or the bottle simply doesn’t fit the frame well.
At that point, it becomes clear:
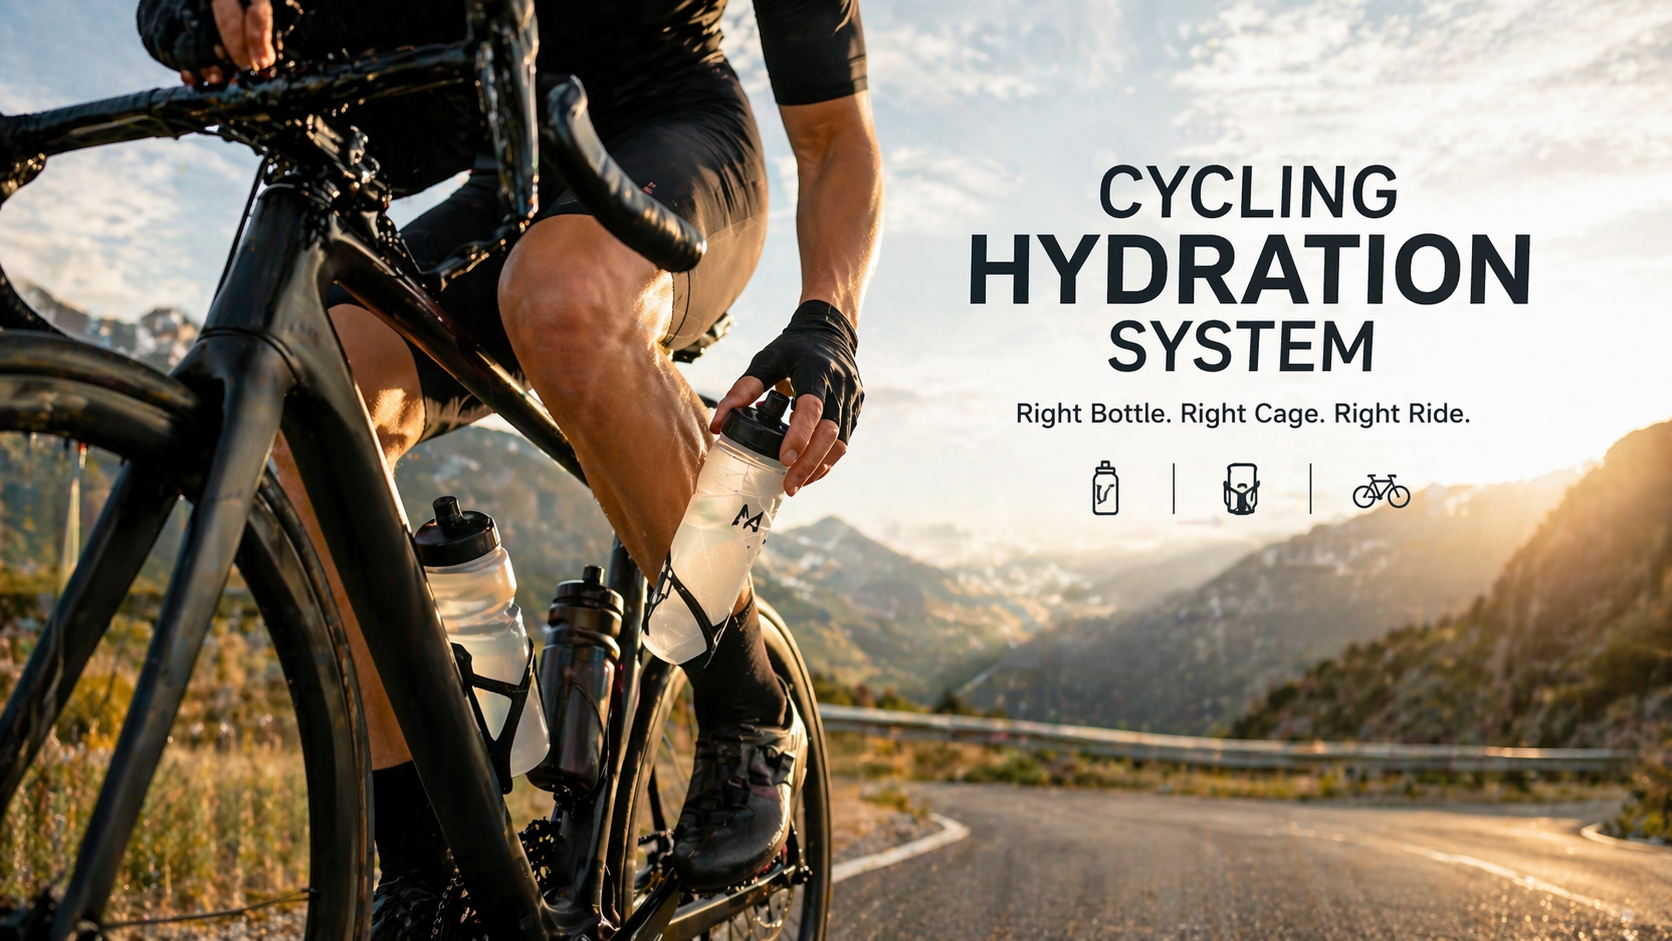
Cycling hydration is not just about carrying water. It’s about accessing it—effortlessly, safely, and consistently.
This is where the idea of a Cycling Hydration System comes in.
Not a bottle.
Not a cage.
But a coordinated setup that works with your riding style, environment, and habits.
In this guide, we’ll break down everything you need to know about bike water bottles and holders—from types and materials to real-world usage, common mistakes, and how to build a setup that actually works.
Why Hydration Matters More in Cycling Than You Think
Hydration is often treated as a general health topic.
In cycling, it’s operational.
1. Hydration Directly Affects Performance
When you ride, especially in warm climates like Malaysia or Indonesia, your body loses fluids quickly through sweat.
Even mild dehydration can lead to:
- reduced endurance
- slower reaction time
- decreased focus
- early fatigue
For long rides, proper hydration is not optional—it’s part of your performance system.
2. You Can’t Stop Every Time You Need Water
Unlike walking or gym workouts, cycling often requires continuous motion.
Stopping frequently to drink water:
- breaks rhythm
- reduces efficiency
- can be unsafe in traffic
That’s why on-the-go access is critical.
3. Stability and Safety Matter
A poorly fitted bottle or weak cage can lead to:
- bottles falling during rides
- distraction while riding
- potential accidents
Good hydration gear should work without demanding attention.
Understanding Bike Water Bottles
Not all water bottles are designed for cycling.
Using a regular bottle on a bike is one of the most common mistakes.
Cycling bottles are built differently—for a reason.
1. Squeeze Bottles (The Standard Choice)
This is the most common type of cycling bottle.
Key Features:
- flexible body
- squeeze-to-drink mechanism
- high flow rate
- one-hand operation
Why It Works:
You don’t need to tilt your head much or apply suction.
A quick squeeze delivers water instantly.
Best For:
- road cycling
- mountain biking
- commuting
2. Insulated Cycling Bottles
These bottles are designed to maintain temperature—usually keeping drinks cool.
Key Features:
- double-wall or foam insulation
- thicker construction
- slower temperature change
Trade-Offs:
- slightly heavier
- larger size
- sometimes tighter fit in cages
Best For:
- hot climates
- long daytime rides
- riders sensitive to warm water
3. High-Capacity Bottles
Larger bottles (750ml–1L+) are increasingly popular.
Why They Matter:
- fewer refills
- better for long-distance rides
- useful in areas with limited water access
Considerations:
- must match frame size
- requires a stable cage
4. Why Regular Bottles Don’t Work Well on Bikes
Standard water bottles:
- are not designed for one-hand use
- lack squeeze functionality
- may not fit securely
- are harder to access quickly
In cycling, convenience is not optional—it’s essential.
Understanding Bike Bottle Cages (Water Bottle Holders)
The bottle cage is just as important as the bottle itself.
It determines:
- how easily you can grab your bottle
- how secure it is during movement
- whether it fits your frame
1. Material Types
Plastic / Nylon Cages
- lightweight
- affordable
- flexible
Best for: casual riders and commuting
Aluminum Cages
- more rigid
- durable
- classic design
Best for: general-purpose cycling
Carbon Fiber Cages
- extremely lightweight
- high stiffness
- premium feel
Best for: performance-focused riders
2. Cage Entry Design
Top-Load Cages
- bottle is inserted from the top
- standard design
Best for: larger frames with more space
Side-Load Cages
- bottle slides in from the side
- easier access in tight frames
Best for:
- small bike frames
- urban bikes
- compact setups
3. Grip Strength (Critical Factor)
This is one of the most overlooked aspects.
Too Loose:
- bottle may fall out on bumps
Too Tight:
- difficult to remove while riding
Ideal:
- secure under vibration
- smooth to remove with one hand
A well-designed cage balances both.
Bottle and Cage Compatibility (The Core System)
This is where many riders get it wrong.
They choose bottles and cages independently.
But in reality:
They must work together as a system.
1. Size and Fit
Not all bottles have the same diameter.
Ensure:
- snug fit
- no rattling
- no excessive force needed
2. Riding Style Matching
Urban Commuting
- frequent stops
- quick access needed
- moderate speed
Best setup:
- lightweight bottle
- side-load cage
Road Cycling
- high speed
- smooth roads
- consistent rhythm
Best setup:
- squeeze bottle
- aerodynamic cage
- stable grip
Mountain Biking
- rough terrain
- strong vibrations
Best setup:
- durable bottle
- high-grip cage
3. Frame Geometry
Bike frame size affects usability.
Small Frames
- limited space
- harder bottle access
Solution:
- side-load cages
Large Frames
- more flexibility
Solution:
- standard top-load cages
Real-World Riding Scenarios
To understand what works, you need to think in real situations.
Scenario 1: Daily City Commute
You’re riding through traffic, stopping at lights, and navigating busy roads.
What matters:
- one-hand access
- quick hydration
- no spills
Scenario 2: Long Distance Ride
You’re riding for hours.
What matters:
- bottle capacity
- consistent hydration
- easy access without breaking rhythm
Scenario 3: Hot Weather Riding
Common in Southeast Asia.
What matters:
- water temperature
- hydration frequency
Insight:
Warm water reduces willingness to drink.
Insulated bottles can improve hydration behavior.
Common Mistakes Riders Make
Mistake 1: Using the Wrong Bottle Type
Regular bottles are not optimized for cycling.
Mistake 2: Ignoring Cage Quality
A weak cage compromises the entire system.
Mistake 3: Choosing Based on Looks
Aesthetic is secondary to usability.
Mistake 4: Not Testing the Setup
What works in theory may not work on the road.
How to Build the Perfect Cycling Hydration System
Here’s a simple framework.
Step 1: Define Your Riding Style
Ask:
- commuting?
- long rides?
- off-road?
Step 2: Choose the Right Bottle
Match:
- capacity
- drinking style
- temperature needs
Step 3: Select the Right Cage
Focus on:
- compatibility
- access style
- grip strength
Step 4: Test and Adjust
Take short rides and evaluate:
- ease of access
- stability
- comfort
The Role of Design: Where Brand Value Comes In
At this point, the difference between an average setup and a great one becomes clear.
It’s not about features alone.
It’s about design.
1. Good Design Feels Invisible
The best hydration system:
- doesn’t distract you
- doesn’t require thinking
- just works
2. Built for Movement
Cycling is dynamic.
Products must adapt to:
- motion
- vibration
- speed
3. Small Details Matter
- bottle squeeze feel
- cap opening resistance
- cage tension
- alignment with frame
These details define real-world experience.
Final Thoughts
A bike is a system.
And hydration is part of that system.
When done right:
- you drink more consistently
- you stay focused
- your ride feels smoother
When done wrong:
- it becomes a distraction
- or worse, a safety risk
The goal is not to find the most advanced bottle or the lightest cage.
The goal is to build a setup that works so naturally, you forget it’s even there.
Because in cycling, the best equipment is not the one you notice.
It’s the one that supports you—quietly, reliably, every single ride.